
Last Updated on August 10, 2021 by Audrey
The post may contain affiliate links. As an Amazon associate, I earn a commission from any qualifying purchases (at no extra cost to you).
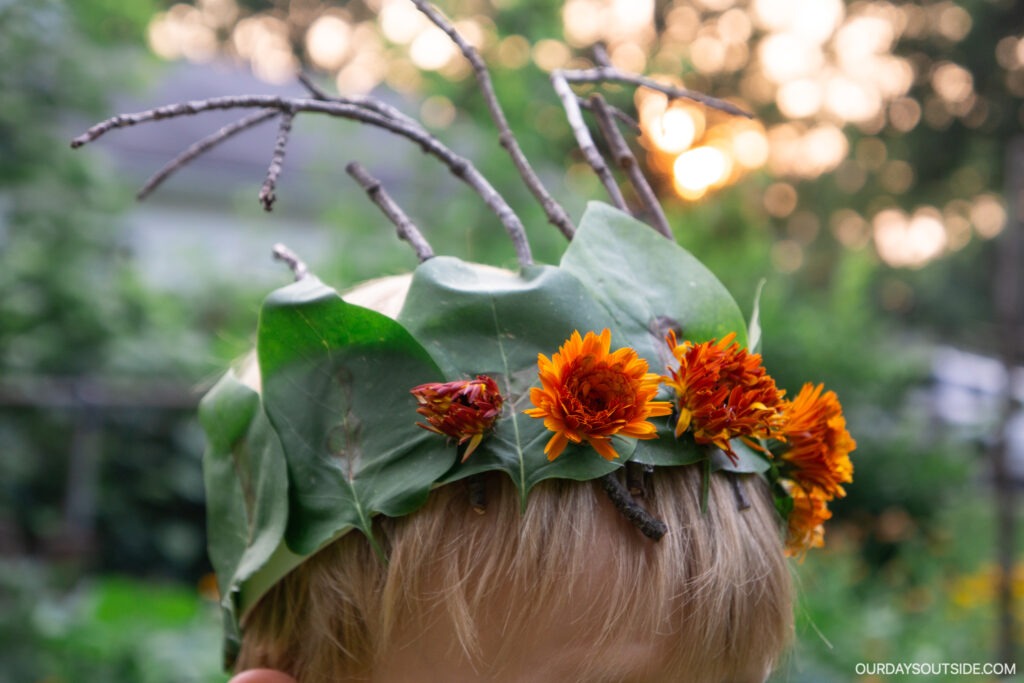
I’ve been wanting to create a pretty nature crown with my littles for quite some time now, and we finally made it happen! Dress up was one of my favorite activities as a kid, and it’s even better when you create your own costumes!
To help inspire some imaginative play, we created this nature crown craft with some pretties that we gathered outside. Two-in-one activities where you create something and then play with later are the best! These are also super fun to make!
They’re probably the best for kids 5 and older, but younger kids might enjoy helping collect the nature items or wearing the crown afterwards if you’re willing to do the majority of the assembly. So if you and the kiddos are ready to make your own delightful nature crown, follow along with the steps below!
Gather the materials for your nature crown:

- cardboard
- masking tape
- hot glue gun/elmer’s glue
- leaves
- ferns
- feathers
- flowers
- acorns
- twigs
- bark
- anything else that inspires you!
Head out into your yard with the kids and see what they can find! We were able to collect some leaves, flowers, ferns, and sticks. We also keep a stash of other nature goodies on hand, like feathers and acorns. Finn was given a beautiful turkey feather a while ago and we had been saving it for the perfect occasion, so it became the centerpiece of his nature crown!

Start creating!
Cut the cardboard into strips. These can be as thick or thin as you want! We tried a variety just to have some different options. Measure the cardboard strips to fit your child’s head and trim accordingly. It’s up to you if you want to decorate first and then tape it into a circle or vice versa.
We chose to decorate the crowns while they were flat and then tape them together afterward. I figured everything would be easier to glue and put in place that way, but feel free to play around with it and find what works best for you!

If the materials you choose to use for your nature crown are light and thin, have your kids use elmer’s glue or double sided tape and start sticking things in place! If you chose to use some bigger or thicker objects, the hot glue gun is probably the way to go. We used hot glue and I had my son put the glue where he wanted and then I placed each object where he wanted it.
And I couldn’t resist making one for myself and another for baby girl 😄. Here’s how all of them turned out!


Looking for more nature crafts? Try this nature rainbow printable or these flower crafts!
PS – Know someone that would like this blog? Please forward it to them!


